Using the toolbar
Learn to use the toolbar to apply changes to radiographs in Second Opinion®
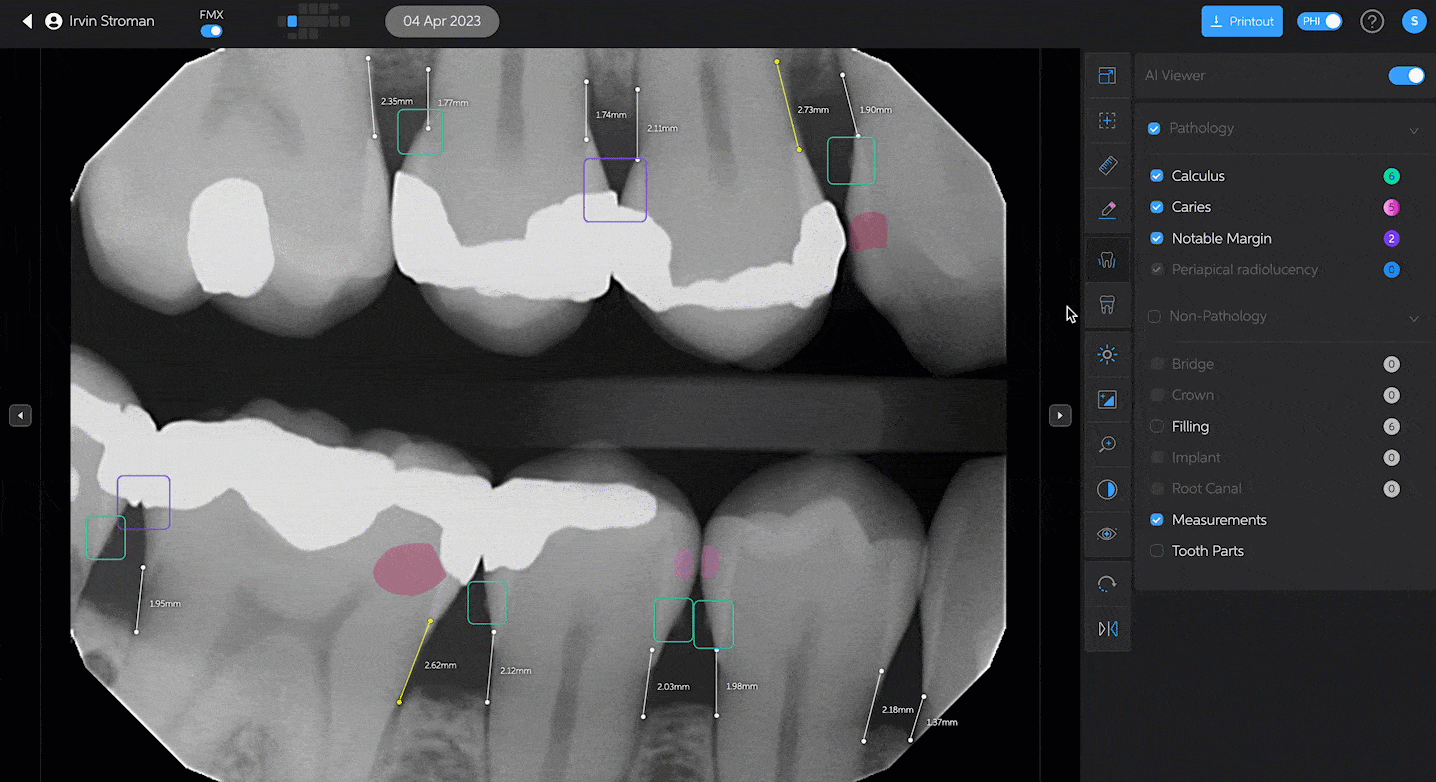
Clicking into a patient in Second Opinion® will open that patient's radiographs. Clicking into a radiograph will open it and allow you to use the tools to apply changes. The toolbar can be found along the right side of the radiograph.

Clicking on the full screen button will open the radiograph up larger. Clicking the button again will take you back to the original view

The ruler tool allows you to take measurements on the radiograph. Simply click on the ruler button, click on the radiograph where you would like the measurement to begin, move the cursor along the radiograph where you would like the measurement to be, and click again where you would like the measurement to end. Clicking on the ruler button again will remove the measurement from the radiograph and turn the ruler tool off.

The edit tool allows you to add detections to the radiograph. Simply click on the edit tool and draw a box around the pathology. An option will come up for you to select the appropriate condition. Click the edit button again to turn off the edit tool.
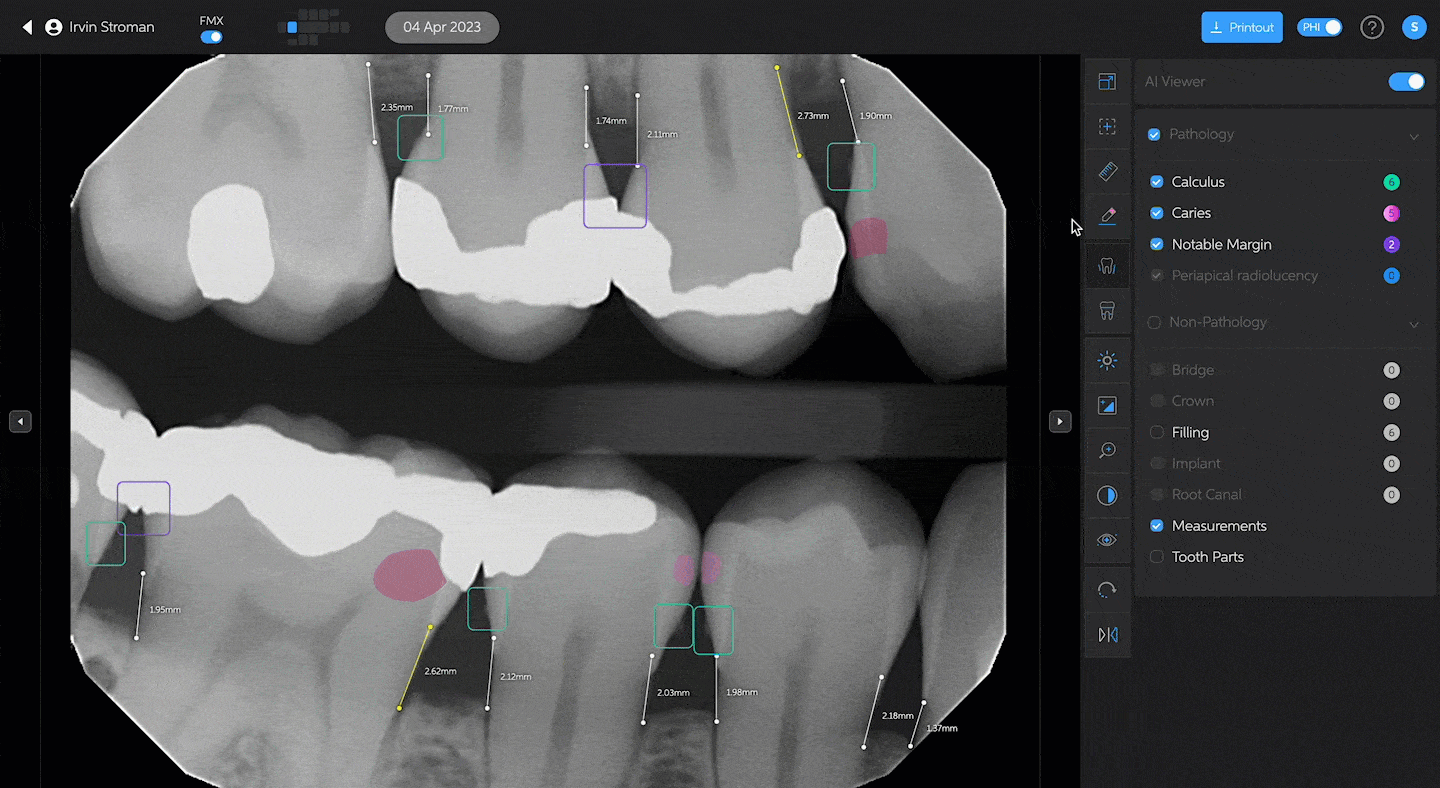
You can also use the edit tool to remove any detections you may not agree with. Simply click the edit button and hover over the detection. Click on the red 'x' and the detection will be removed from the radiograph. Click the edit button again to turn off the edit tool.

Bone level measurements are turned on by default, unless you have them turned off in settings. Measurements can be turned off on a particular image by clicking on the measurements button. Clicking the button again will turn them back on.

Clicking on the tooth parts button will turn on tooth parts. At the bottom right-hand corner of the radiograph there is a legend you can bring up by clicking on the arrow. Clicking the tooth parts button again will turn off tooth parts.
You can adjust the brightness, the contrast, and zoom in on radiographs. Hovering over these buttons in the toolbar will bring up the sliders you can use to adjust these.

Clicking on the invert button will invert the radiograph. Click on it again to return to the original view.

Pearl Enhanced View allows you to adjust the clarity of your radiographs to your preference. Hovering over the button will bring up the slider you can use to adjust the view. Adjusting the Pearl Enhanced View on a radiograph will save that setting to all radiographs viewed on that device. We recommend setting a global view in your Second Opinion® settings that will apply to all radiographs across all of the devices in your office.

Clicking on the rotate button will rotate the radiograph 90° clockwise. If at any time you have changed the orientation of the image, clicking on the reset view button will return the radiograph to the original view.
You can flip the radiograph by clicking on the flip horizontally button. Clicking the button again will return the radiograph to the original view.
